Quick, easy, cheap DIY kitchen backsplash; with Samsung home appliances
/
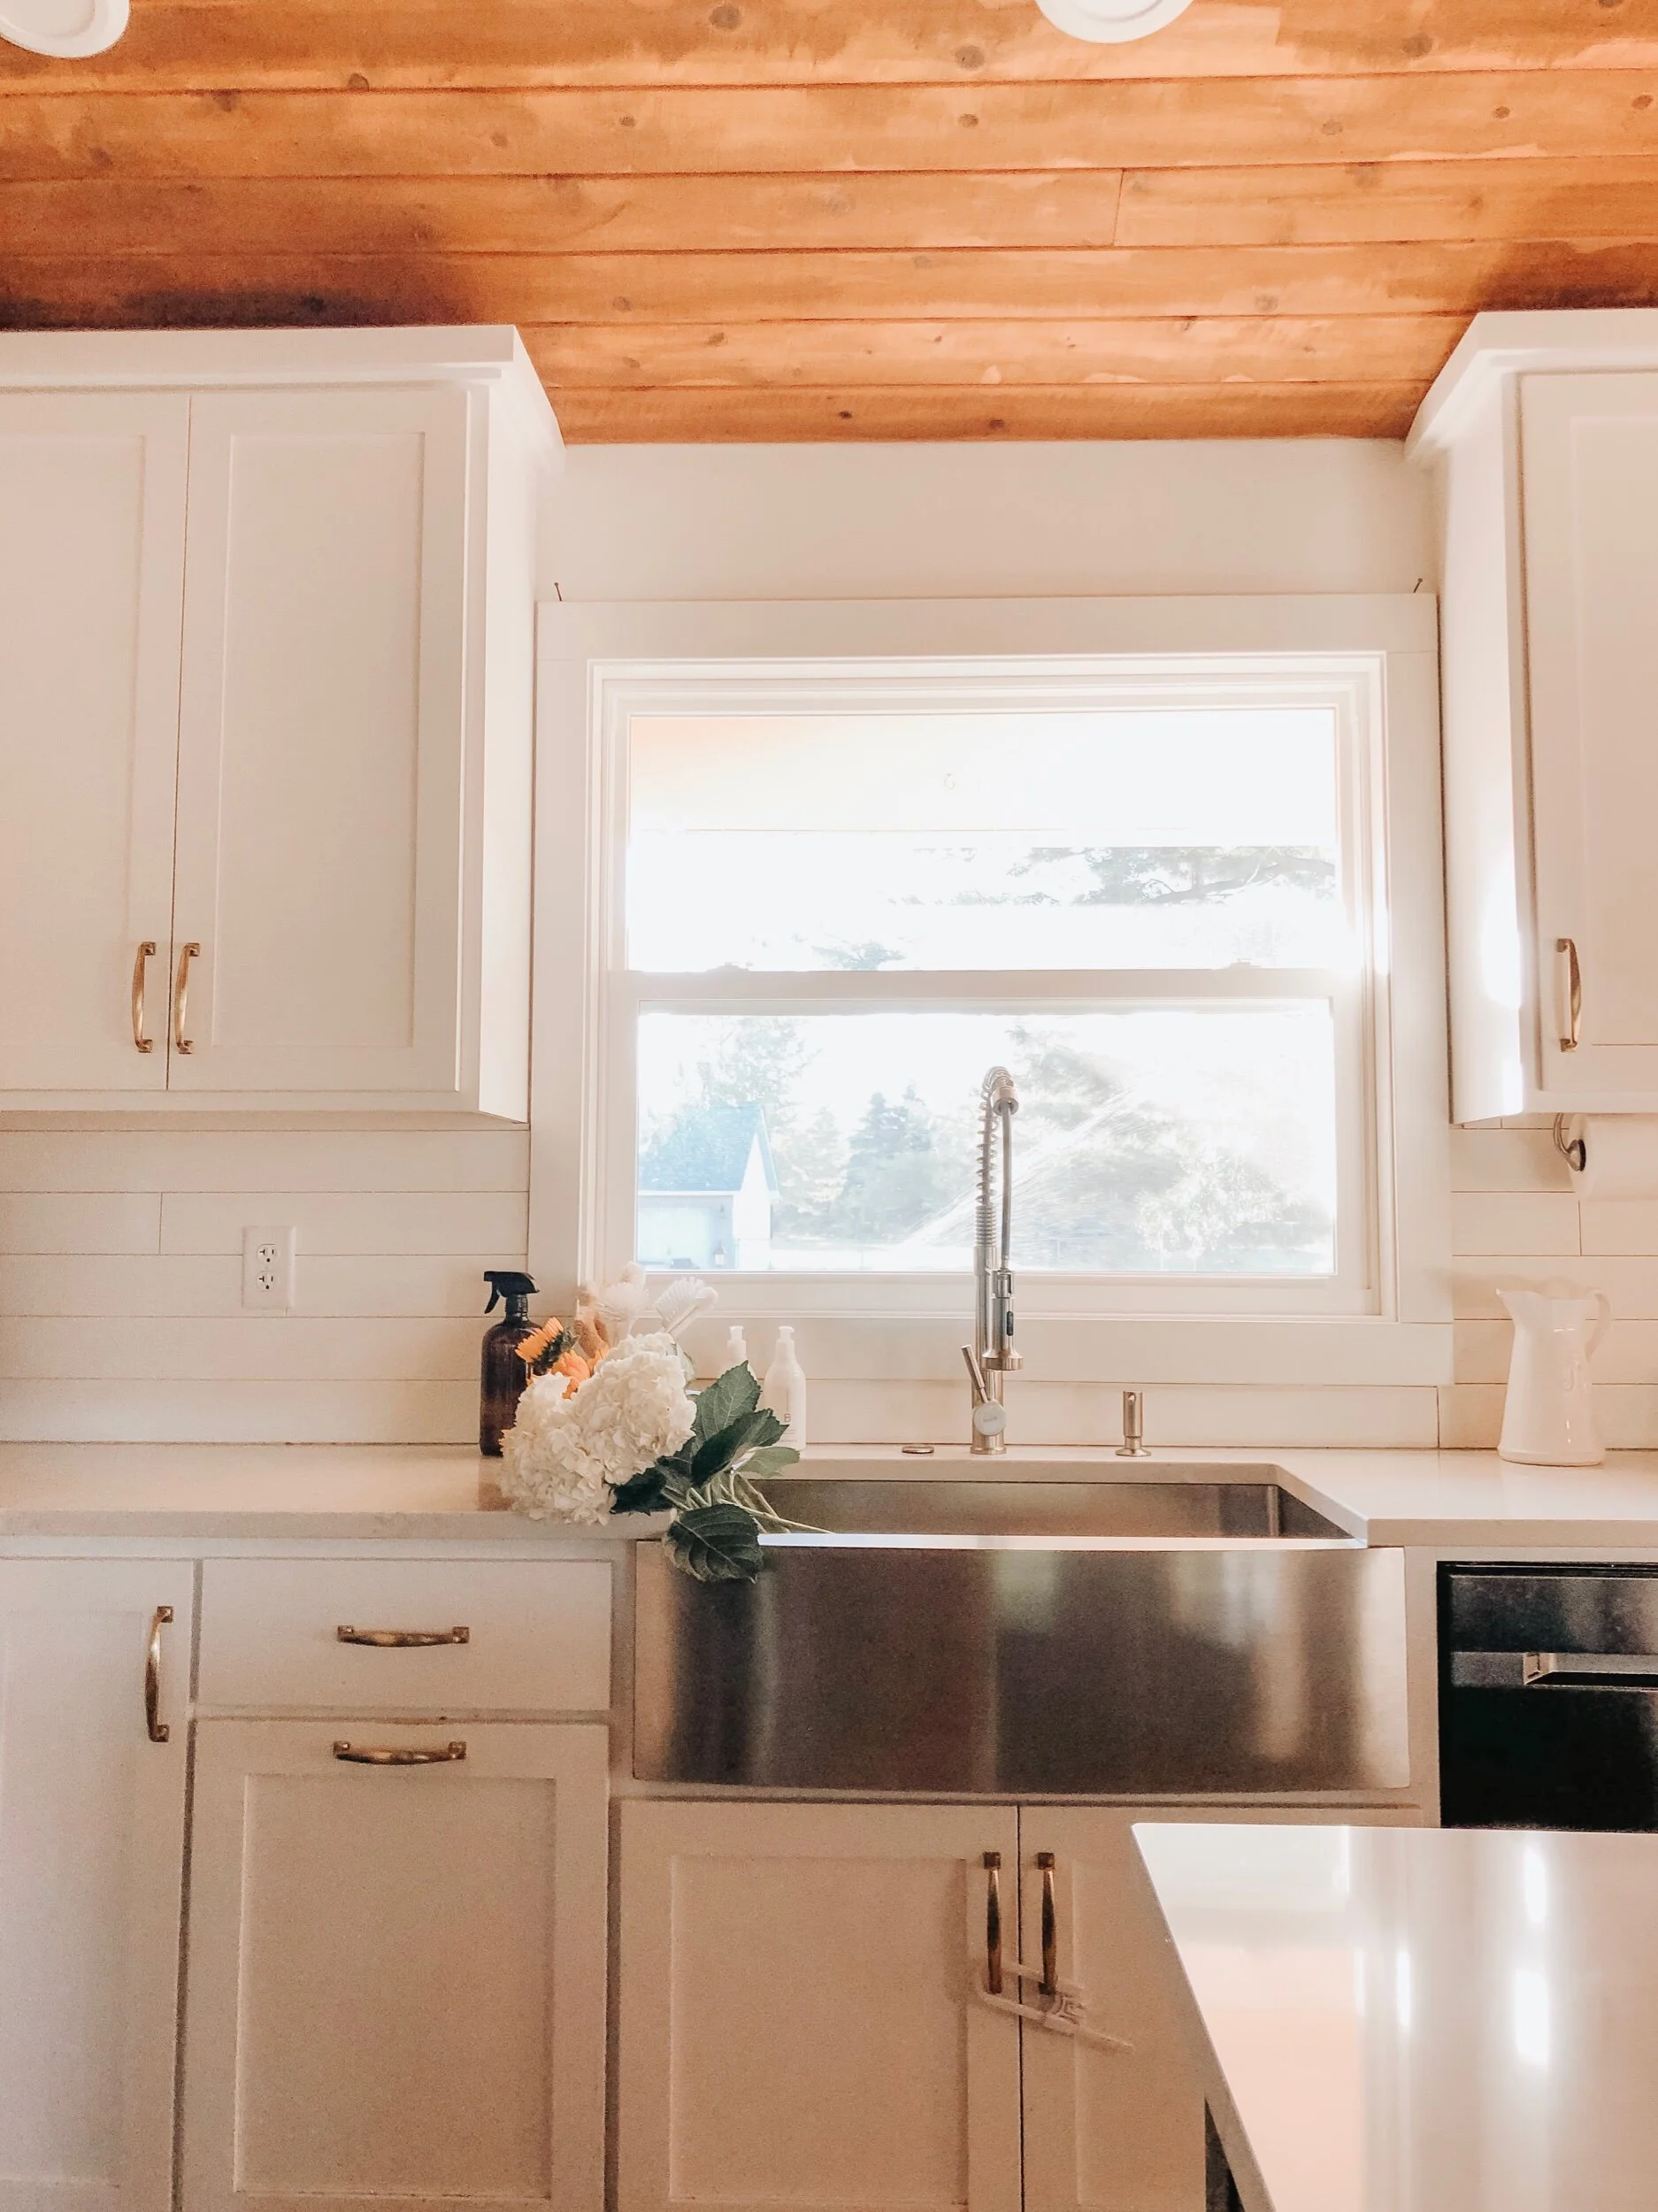
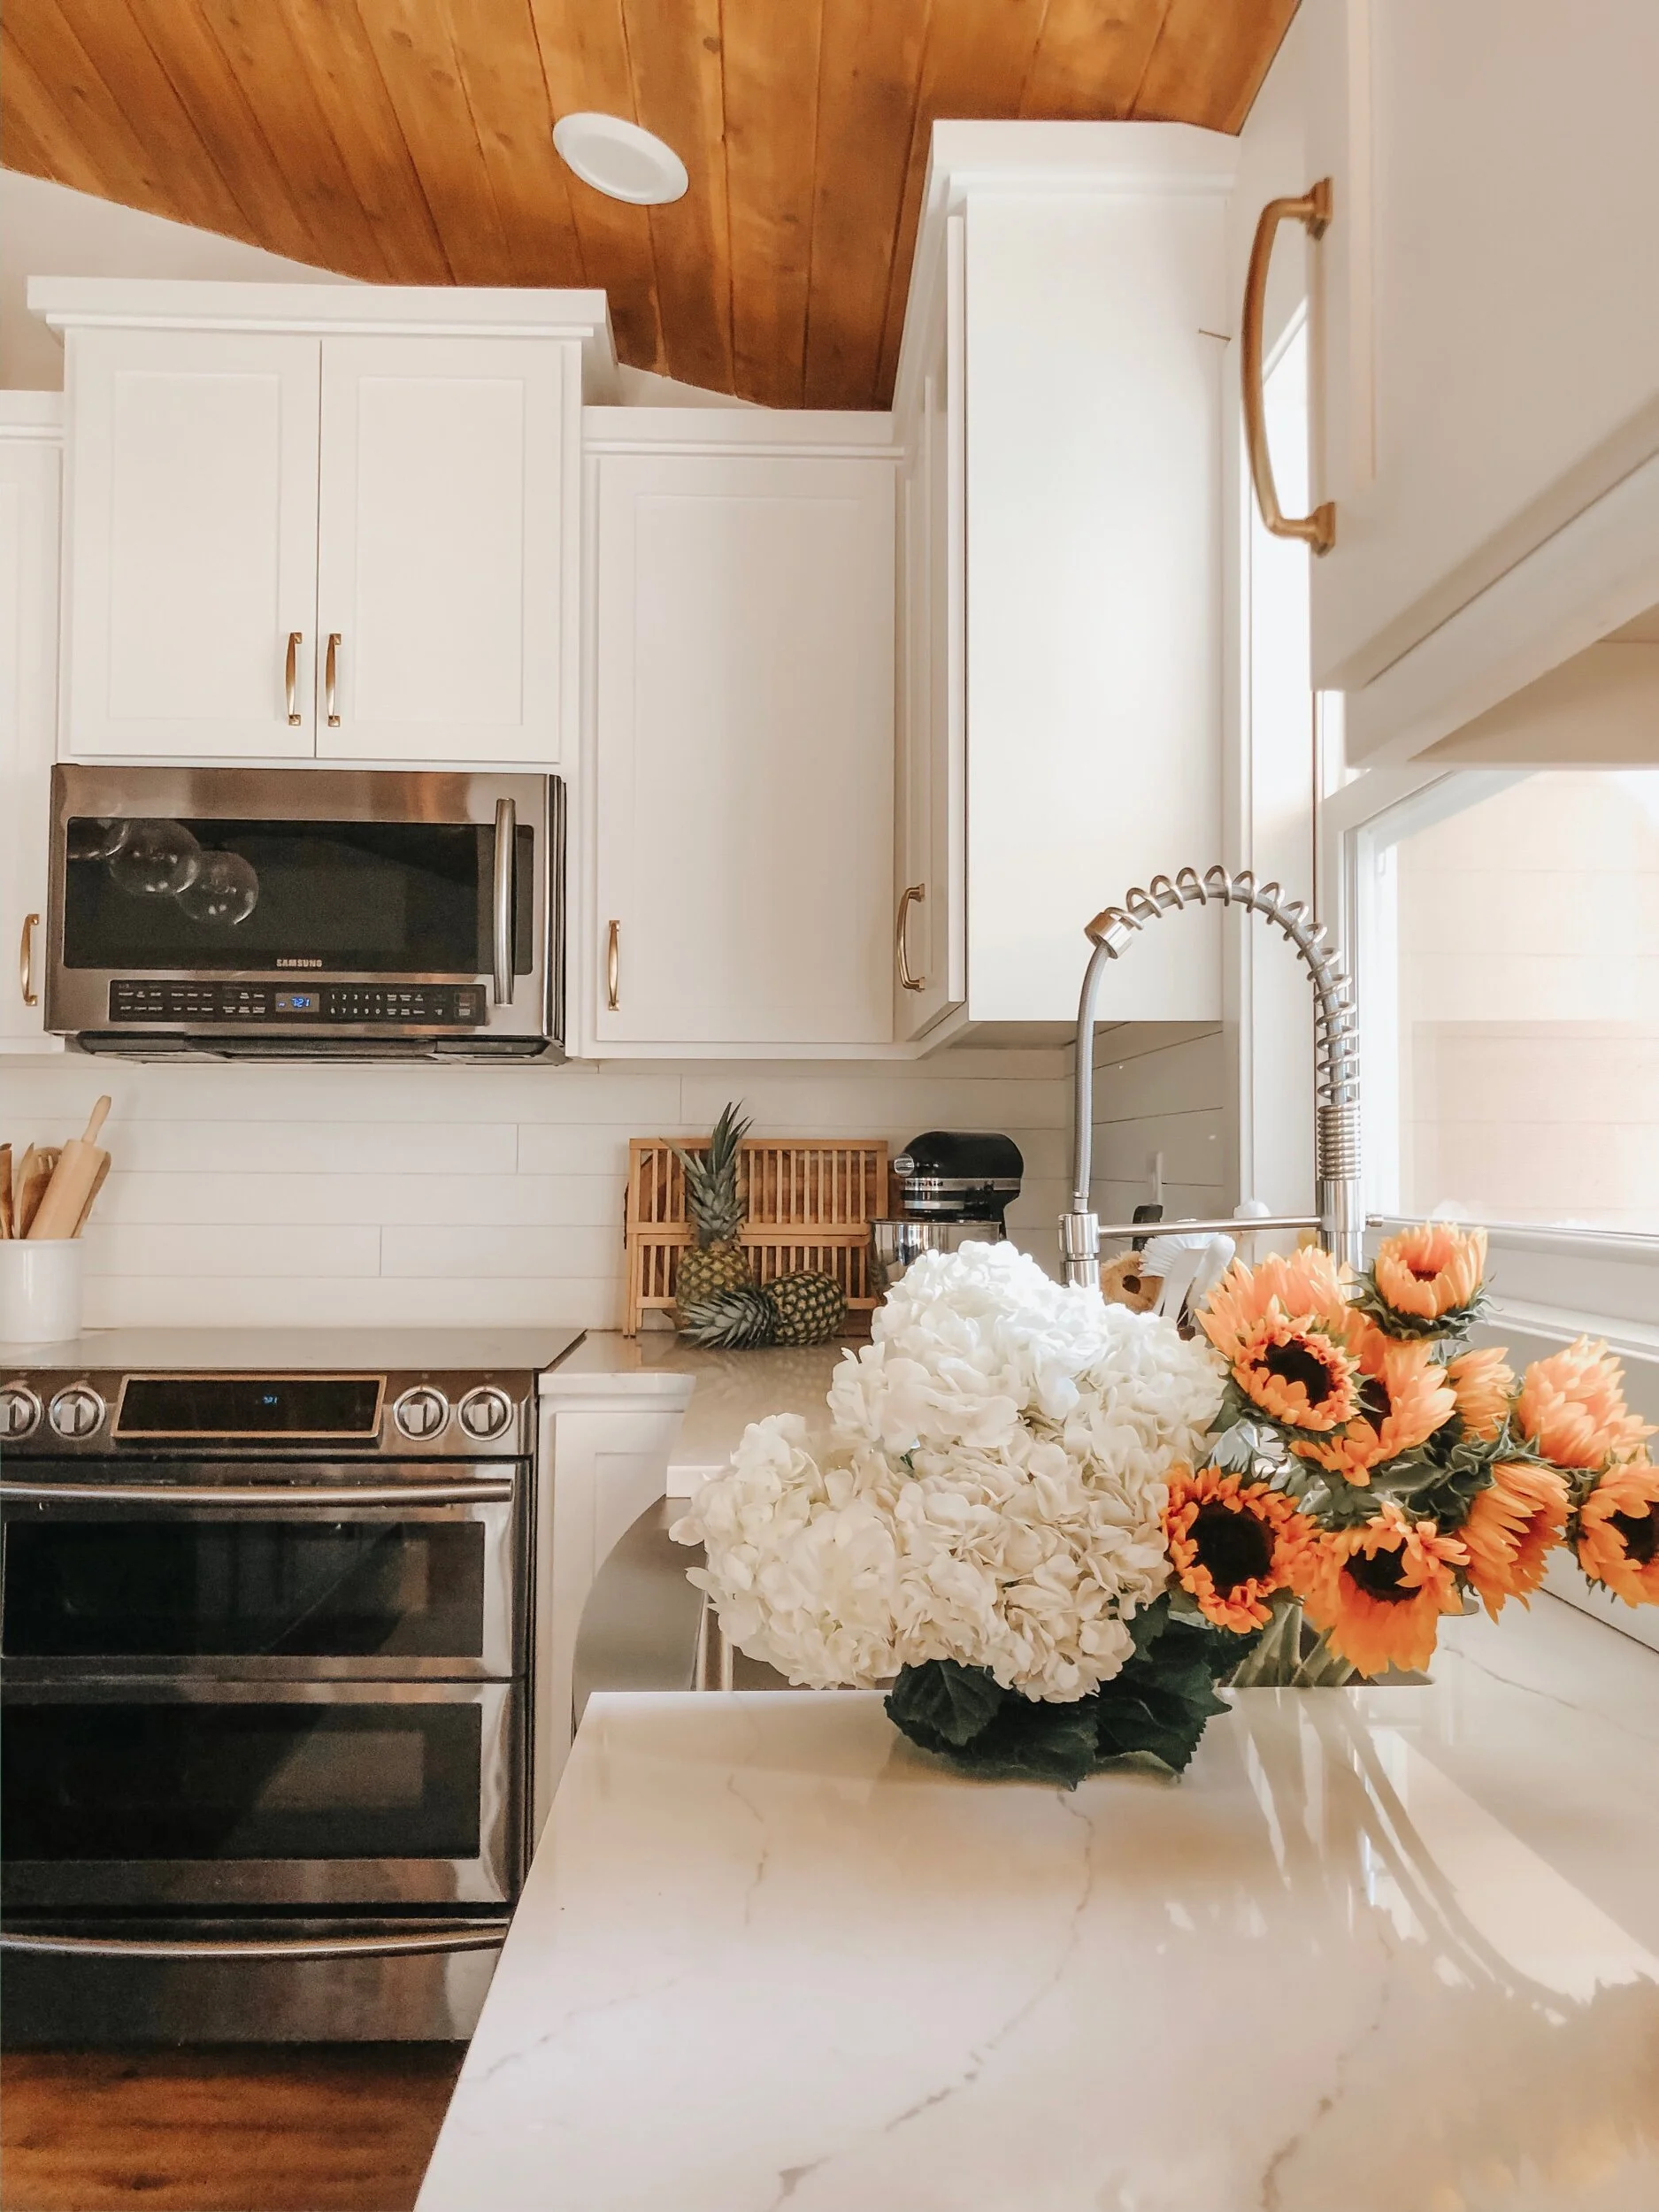
Hello hello! Today I’m taking you through our DIY kitchen backsplash that we did a few months back. I originally wanted subway tile, however that just wasn’t in our budget so we came up with the plan to add this simple, easy, quick and affordable option that completes the space and makes our kitchen all that more perfect for us!
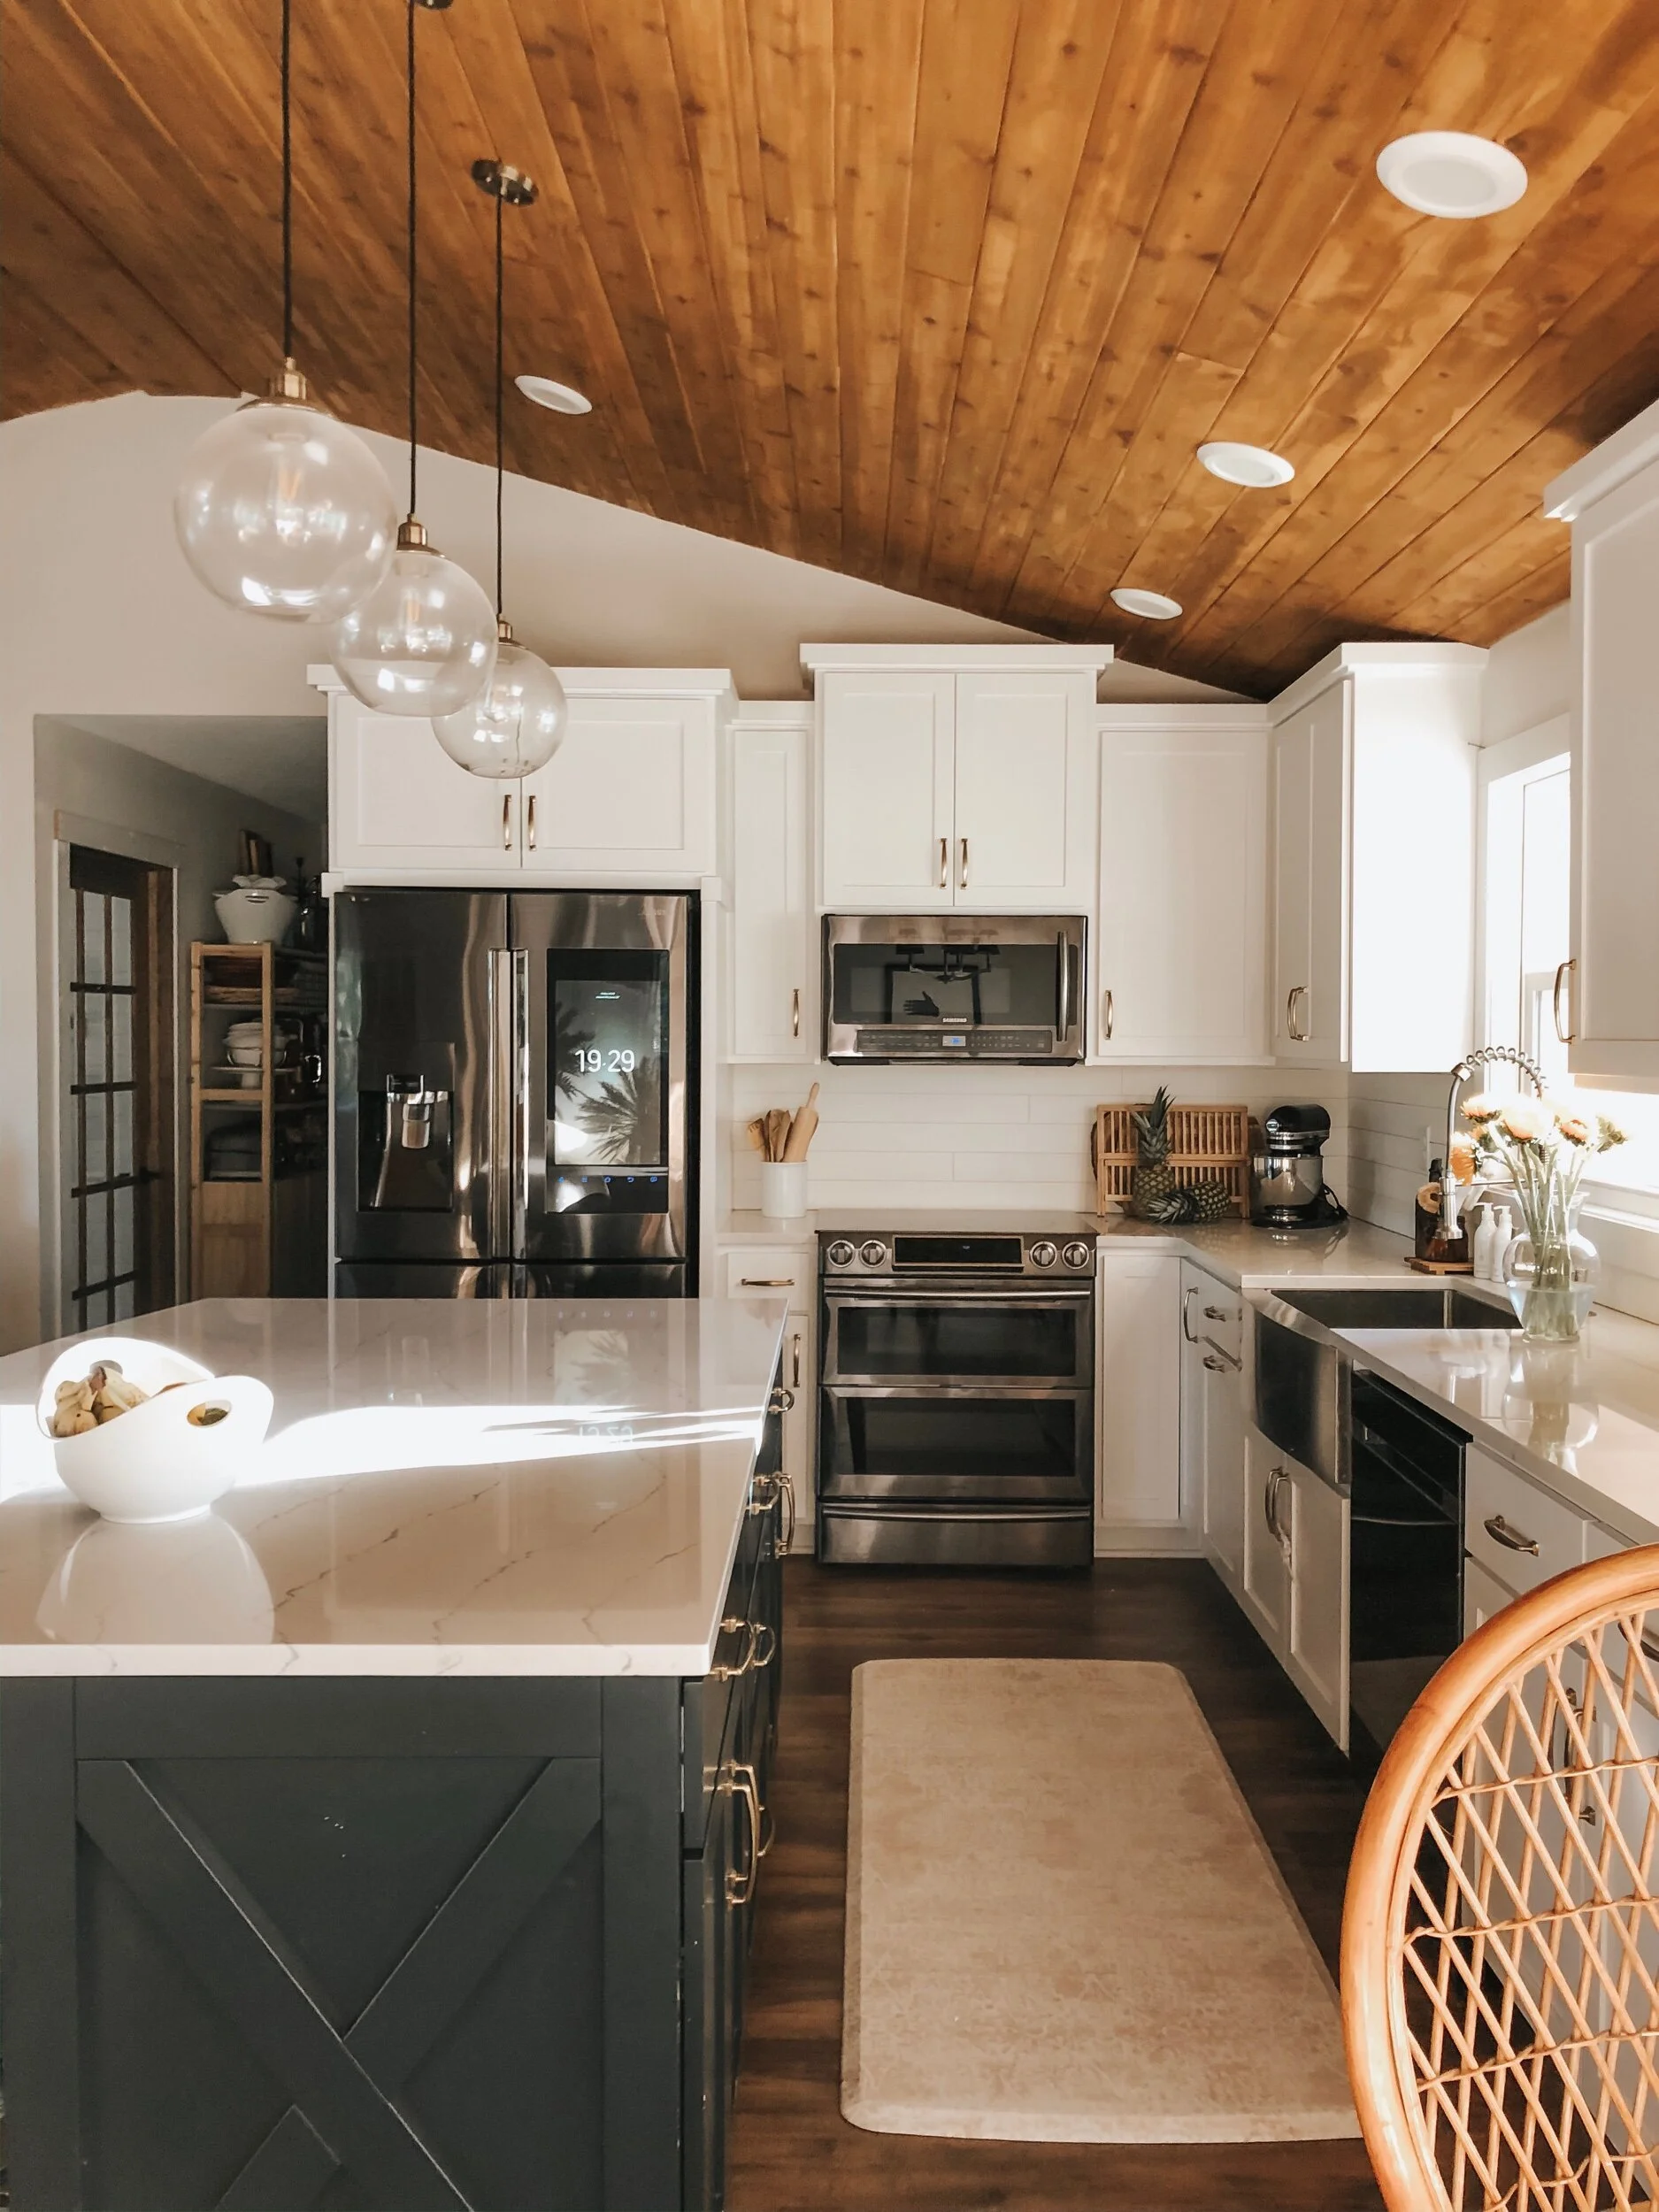
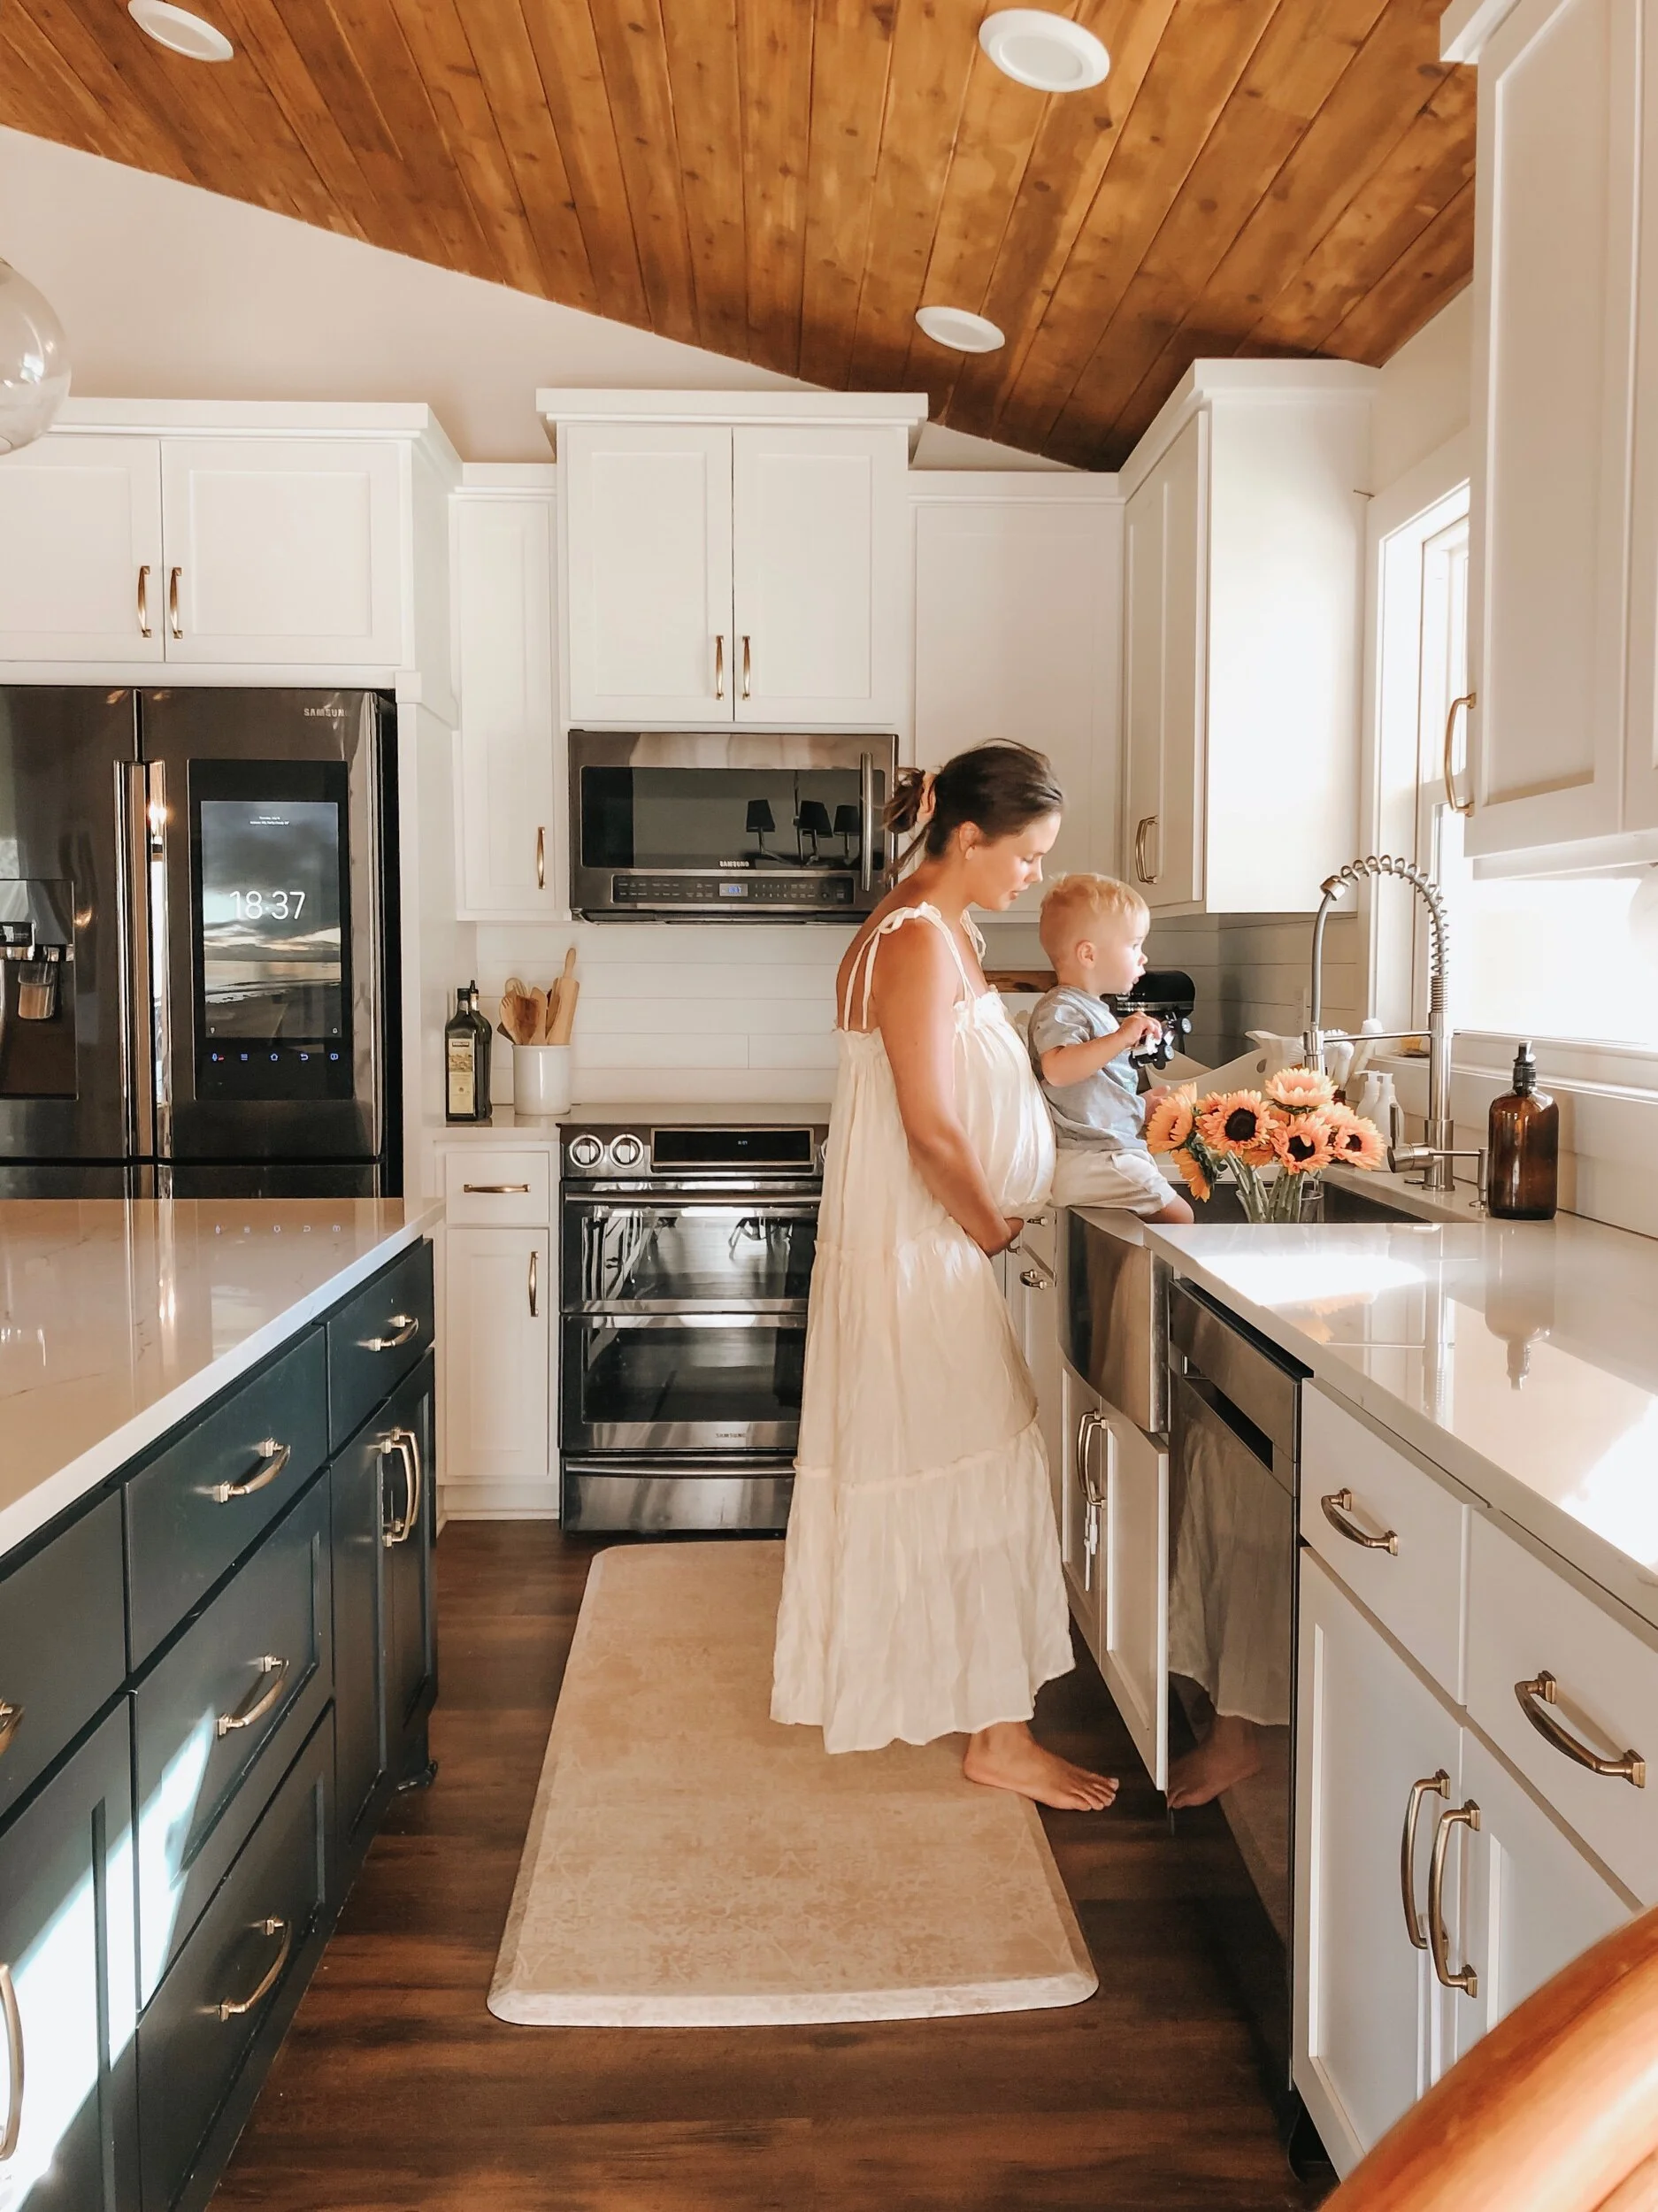
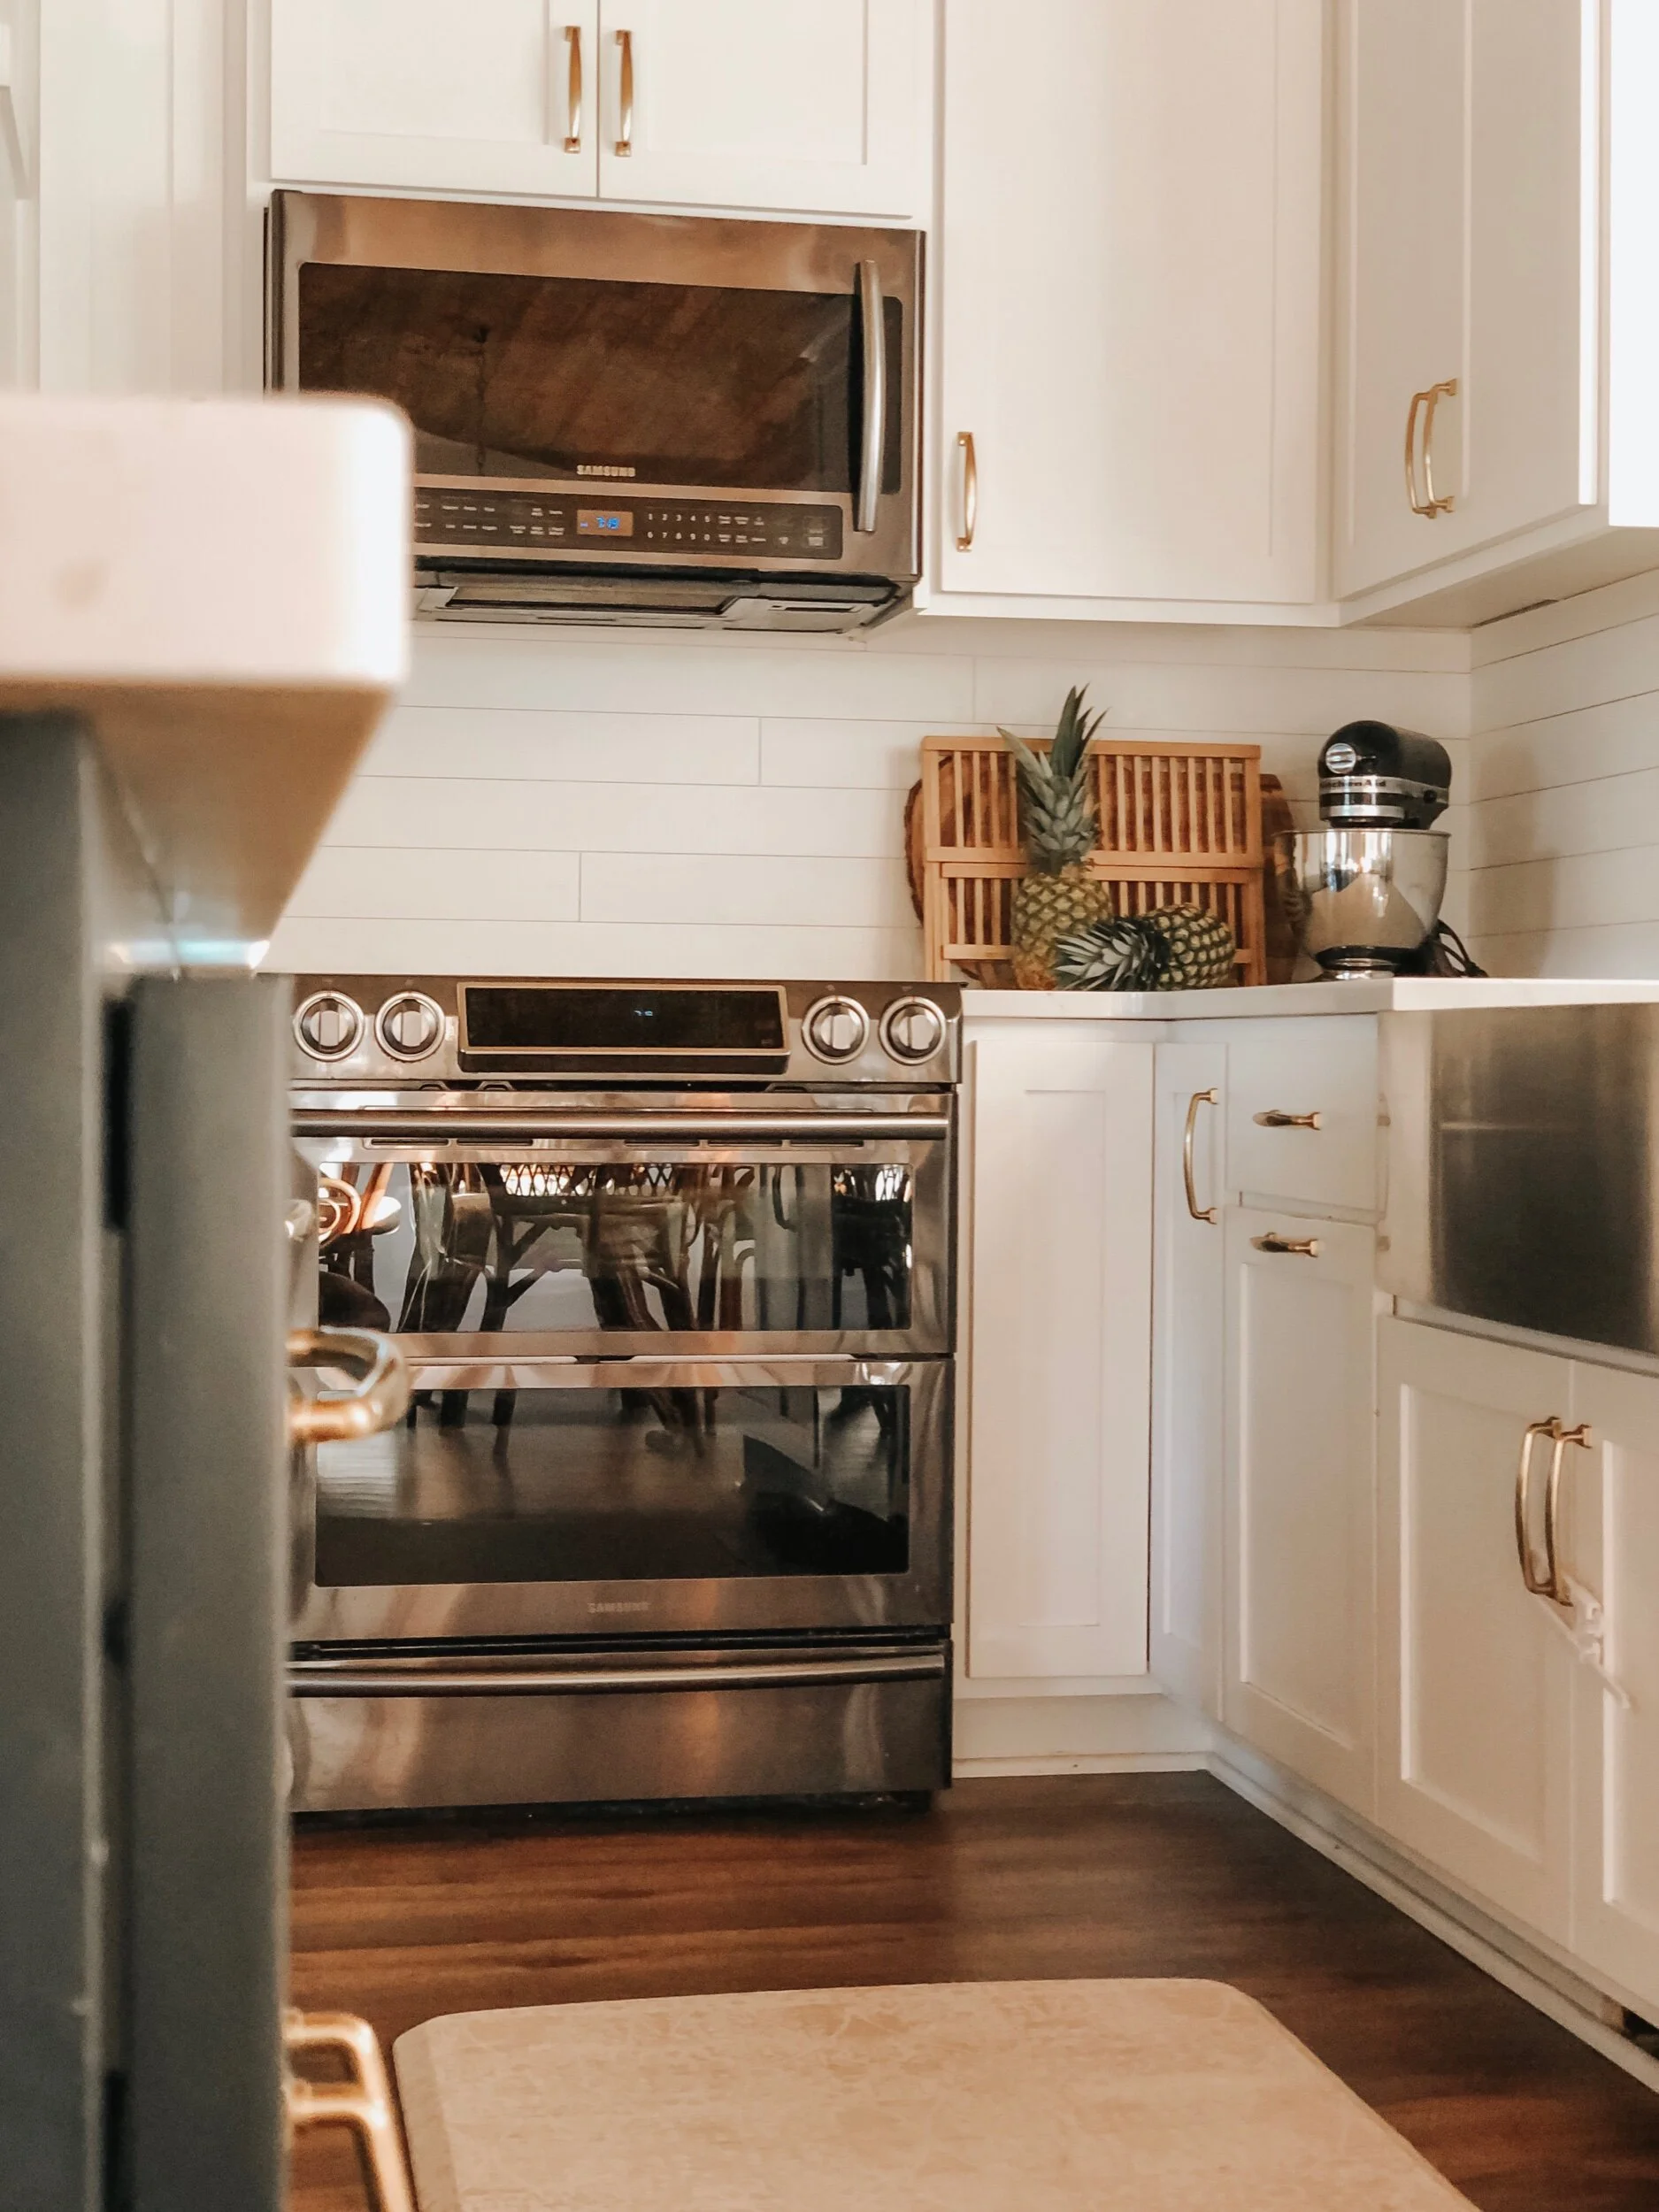
This post is in collaboration with Samsung home appliances. What I love most about having Samsung home appliances is their ability to synch up with our smart phones and have the option to fully take advantage of all that they offer. I love the color, the quality, and especially our refrigerator because the kids utilize the drawing app on the home screen and we often listen to church on it!
Back Story
Jay and I bought this home three years ago now and completely gutted the entire main level down to the studs, tore down the main living wall that separated the entire house and vaulted our ceilings to give it that open concept feel. It’s taken a while to slowly make each space in our home functional and something we love, but making small changes such as DIY projects that are inexpensive can completely transform a space from boring to beautiful in no time.
Materials Needed
• 1/4 x 4 x 4' Mastercraft Poplar Boards (1.17 sqft per board, $3.50/Board)
• General Construction Adhesive ($2.25/Tube)
• Kitchen/Bath Caulking ($3.50/Tube)
• 1-1/2" Brad Nails ($3.50/1000 Pack)
• Paint ($20/Quart)
• Masking Tape ($2/roll)
• Electrical Switch Box Extension ($3 each)
• Spacers (Could be a dime, nail or purchase tile spacers at the store)
• Paint Rollers or Brush ($10)
Tools Needed
• Miter Saw or Skill Saw (For cutting boards to length)
• Brad Nailer
• Air Compressor
• Tape Measure
• Jig Saw or (For cutouts around outlets and windows)
• Table Saw or Skill Saw (For ripping top boards to correct length)
• Caulking Gun
Directions
Below are the steps that you will want to do before going to the store to get the materials.
1. Measure out how much backsplash you need. Measure the length and then the height in feet of your backsplash area. Ours was 12' long on one side and 6' long on the other and it was 1.5' tall so that gave us (12+6)*1.5=27 sqft that we needed for our backsplash.
2. You then need to figure out how many boards you will need. To do that take your backsplash sqft that you just figured out in step 1 and divide it by the sqft per board which in our case is 1.17 sqft per board. For us that was 27 sqft / 1.17 sqft per board = 23.1 boards. Then you are going to need to account for scrap that you will not use so we assumed scrap of 20% so we did 23.1 x 1.2 = 27.7 boards round up to 28 boards. This is how many boards you will need for the backsplash.
3. Now go to the store and pick up all of your materials listed above and rent/borrow/buy any tools needed.
4. Now that you have all your materials it is time to get to work.
5. Take off all of your electrical outlet covers and turn off power to those outlets.
6. Now start in the corner on the bottom and use a full lengthboard.
7. Put the adhesive on the back at both ends and 2 in the middle that spaces the adhesive roughly 16" apart.
8. Then put your spacers on the countertop to lift the board off your desired amount ours is about 1/16".
9. Now put the board into the corner and on the spacers and slide into the corner. Move board around slightly to seat adhesive.
10. Now nail the board on the top and bottom of the end, both middle spots near the glue and the other end.
11. Congratulations you have your first board of backsplash up!
12. Next board you will want to use a spacer to space off the countertop and the board next to it so you have even space through out.
13. Repeat steps 6-9.
14. Once you come to an end board you will have to measure the length of the board that you need or mark the board and then cut it using your miter saw or skill saw.
15. Now you are onto your second row on backsplash. Make sure you either start with the scrap you cut off or cut a full length board so that the ends of the boards do not line up with the first row of boards.
16. When you get to an outlet and you don't have a jig saw try and make one edge of the outlet be a end of a board that way you only have to cut a square out of a corner and not a U out of a middle of the board.
17. Keep going until you make it to the top row where you will probably have to use a table saw or skill saw to rip the boards to the height needed to fit.
18. Now that you are done putting up your boards it is time to paint your backsplash.
19. Tape off your countertops and the edges to help avoid getting paint where you don't want it.
20. Now paint the backsplash.
21. Now after the paint is dried you can put your caulking on the bottom of your backsplash and countertop. (Jay still hasn’t done this…)
22. You can also put your electrical box extensions on your boxes and put the covers back on.
23. Congratulations you have yourself a brand new kitchen backsplash made with love by yourself or husband!
It took us around 5 hours to complete not counting waiting for the paint to dry. This overall project cost us $157 for materials. We already had all the tools so we did not have to buy or rent any of those.
As always, thanks for stopping by! Hope you enjoyed today’s post and find that motivation to tackle that home project. A quick DIY backsplash is an easy quarantine project you can do in no time. If you’re in the market for new appliances, I would highly recommend looking into Samsung home appliances and all they have to offer. We love ours still after three years of using them!
xoxo Mari