Sourdough: Step by Step guide
/
If you’re looking for the science behind making sourdough, this is not your guide lol I can’t exactly tell you why each step is important, I just know what works for me and how to make some really yummy sourdough that you can easily do as well. If you want more detailed instructions on why each step is important, consider buying The Clever Carrot recipe book. She has so many good recipes, and if you don’t make the bagels, you’re seriously missing out and is much easier to make than a loaf of bread in my opinion.
One thing I know for sure is that sourdough is much easier to digest than other store-bought breads and is great for gut health, which is literally all the rave right now. Sourdough is also low-glycemic meaning it won't spike a persons blood sugars and contains prebiotics which form during the fermentation process. Sourdough bread also contains higher levels of antioxidants, vitamins and minerals, and contains lower levels of phytate (found in whole grains, legumes, seeds, and some nuts and can decrease the absorption of iron, zinc, magnesium, and calcium) making it easier for your body to absorb the nutrients. Because its energy is released slowly, it will help keep you fuller longer 🙌🏻
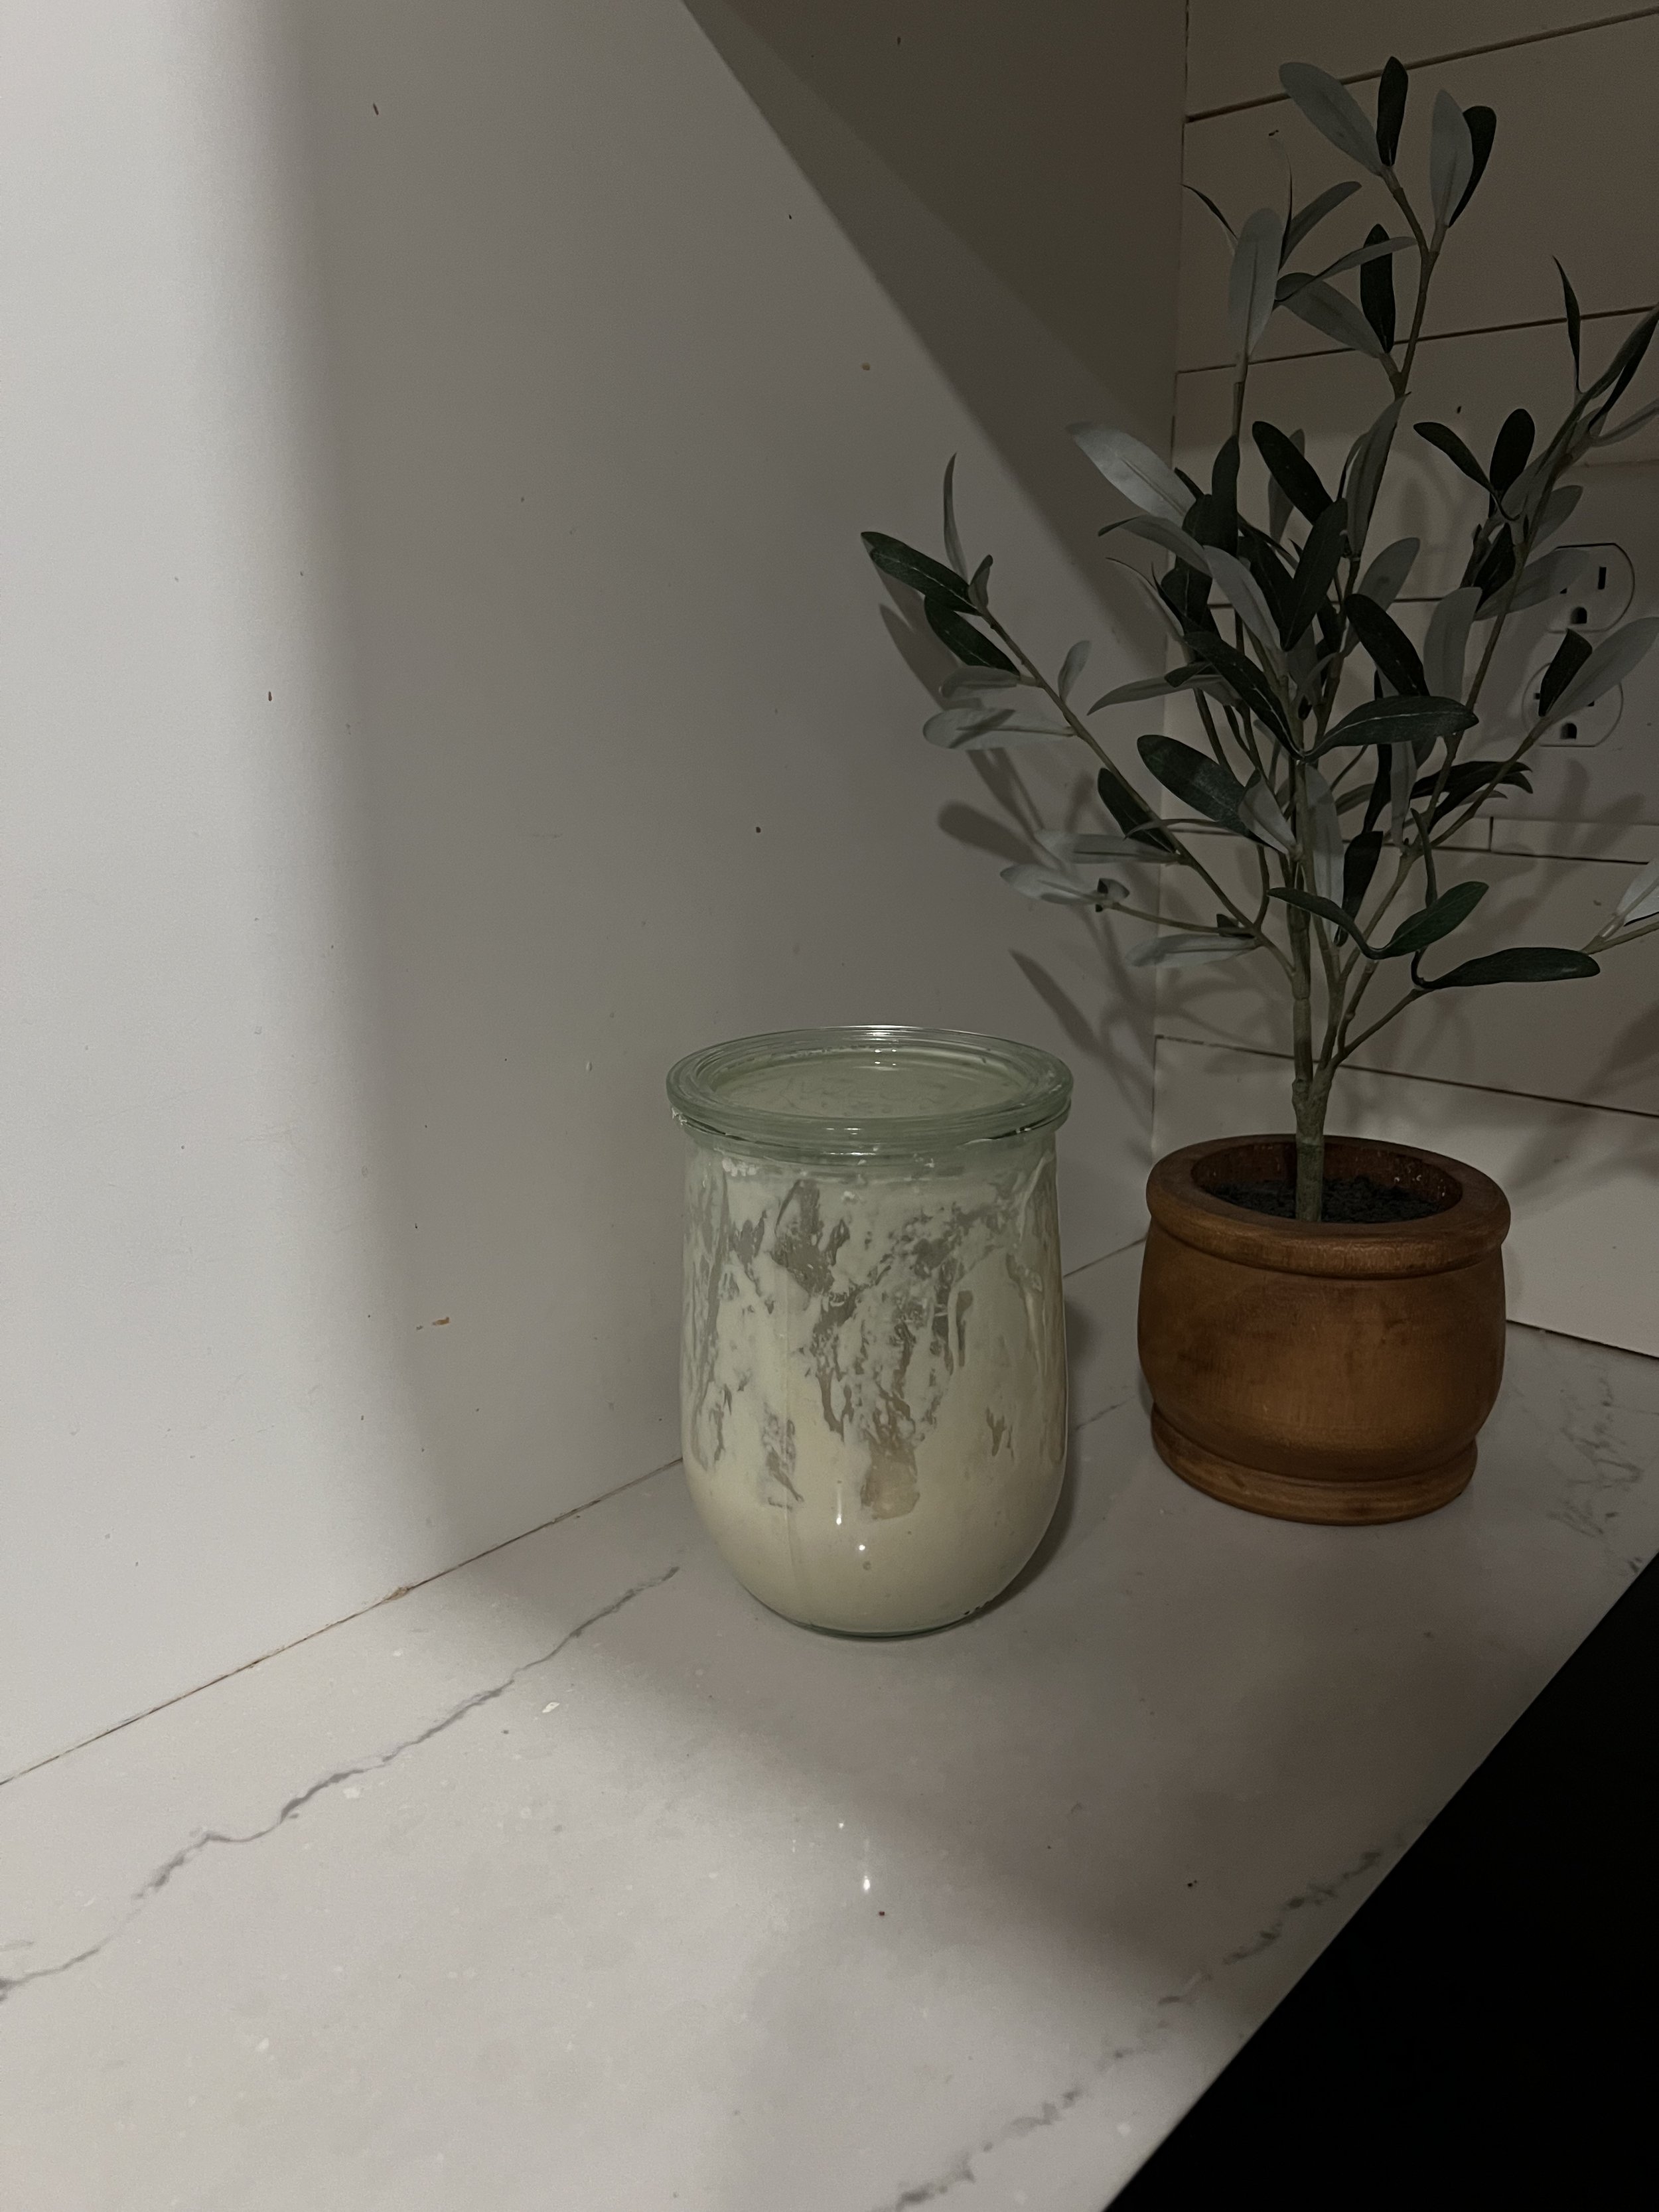
I keep my sourdough on my counter, feed it every couple days but I’ve had mine for over a year so she knows what to do. If you’re just starting out, really try to feed your starter daily to build its strength! When I leave for out of town I store my starter in the fridge in an airtight container.
I started making sourdough January of 2021, my starter didn’t thrive so I got impatient and after about a week of trying to grow it I dumped it and said F it. Flash forward to January of 2022, I bought dehydrated sourdough from Ballerina Farm and decided to go for it again. My friend @jotiwall also makes her own dehydrated started and I’m sure it’s amazing because everything she does is magic! My starter thrived, my first few loaves were kind of a bust but then once I got the hang of it, it became pretty easy. Sourdough, IMO is less about getting the steps exactly right and more about PLANNING. PLAN ahead when making your bread because it usually takes a full day before you can actually bake! Rarely, have I came across a recipe that you can make your dough and bake all the same time, your dough needs time to rise and that’s usually about 8-12 hours.
When looking for a sourdough guide I was wanting something that just had basic simple steps in order, not paragraphs I had to read through each step, so that’s what you’re going to get here! The easier it is to follow along, the greater success you’ll have. SO bare with me in the intro section, i’ll get to the guide below!
Ready to jump in, let’s do it! 🤟🏻
First, think about when you are wanting to bake your bread. Plan ahead and be intentional with what your day looks like. You want to be sure your starter is fed and doubled in size (active) before you make your dough.
If you’re wanting to bake your bread in the morning, feed your starter the MORNING BEFORE, then you’re going to make your dough the night BEFORE, so that it can rise all night long so you can bake it in the morning!
If you’re wanting to bake your bread in the evening, feed your starter the NIGHT BEFORE so its nice and bubbly and doubled in size the next morning, so that you can make your dough and let it rise all day long before baking your bread that night!
Does that make sense, I hope so! haha
Now that you have the planning down, let’s get down to the fun part. You now have an active and bubbly/doubled in size starter that you will be working with. The recipe below is for 2 loaves. Cut in half if only making 1, but I tend to make 2 always because we either eat it or I give the other loaf away!
Below is starting at step 5.


Grab a food scale, place a large bowl on top, and dump 100g of starter into the bowl.
Add 700g of water (temp should be room temp 70-75ish degrees)
It doesn’t have to be exact I just know that when its too warm the dough gets too sticky.
With your hands or a dough whisk, mix up the starter and water. It will be frothy afterwards.
Next, add 1000g of organic bread flour ( I use King Arthur brand)
You can now mix together until you get a shaggy looking dough.
I like to use my dough whisk at the start and then switch to my hands to fully mix it all together so there’s no loose flour.
Cover with a tea towel and let sit for about 20-30 minutes in the counter.
Meanwhile, feed your starter. I like to use these ratios
30g starter, 125g water, 145g bread flour
Now, add 15g of salt ( I use Redmond real salt) and get your hand slightly wet and pinch the salt into the dough. Then begin kneading the dough by pulling one side of the dough up and over itself, spinning the bowl as you go for about a minute or so.
Cover with a tea towel again for about 20 minutes.
The dough will now look very smooth. Do the same process and knead the dough over itself turning the bowl several times.
Cover with a shower cap. This helps keep the moisture in. Let sit on your counter for 8-12 hours.
I like to set mine on my stove to help it rise.
Now your dough is doubled, probably tripled in size. 🙌🏻 Take off the shower cap, and place dough on the counter.
Gently spread out the dough into a rectangle shape, making it as even as possible. Cut into half with bread scraper.
If you’re only making 1 loaf, you do not need to cut in half.
Now take one side of the dough and fold it over to the halfway mark, then fold the other side over to make a long skinny rectangle.
Take one end of the dough and roll it until it’s all rolled under itself.
Now you’re going to reshape your dough by doing a push and pull action. Bring the dough towards you, then push it away from you, several times. You will start to feel the tension building and the dough will become more of a perfect ball.
Next, place a tea towel over the loaves and let sit on your counter for about 20 minutes.
Now do the same reshaping of your dough so that you have a firm and round dough ball.
Grab your bread basket, sprinkle a little flour in it and place your dough in there.
Cover with a shower cap.
Place in fridge for about an hour. Halfway through, start your oven to 425 degrees and place your dutch ovens in there to pre-warm.
Once your dough has been in the fridge for about an hour, take it out.
Grab parchment paper, and lightly dust with flour.
Flip your dough onto the parchment paper.
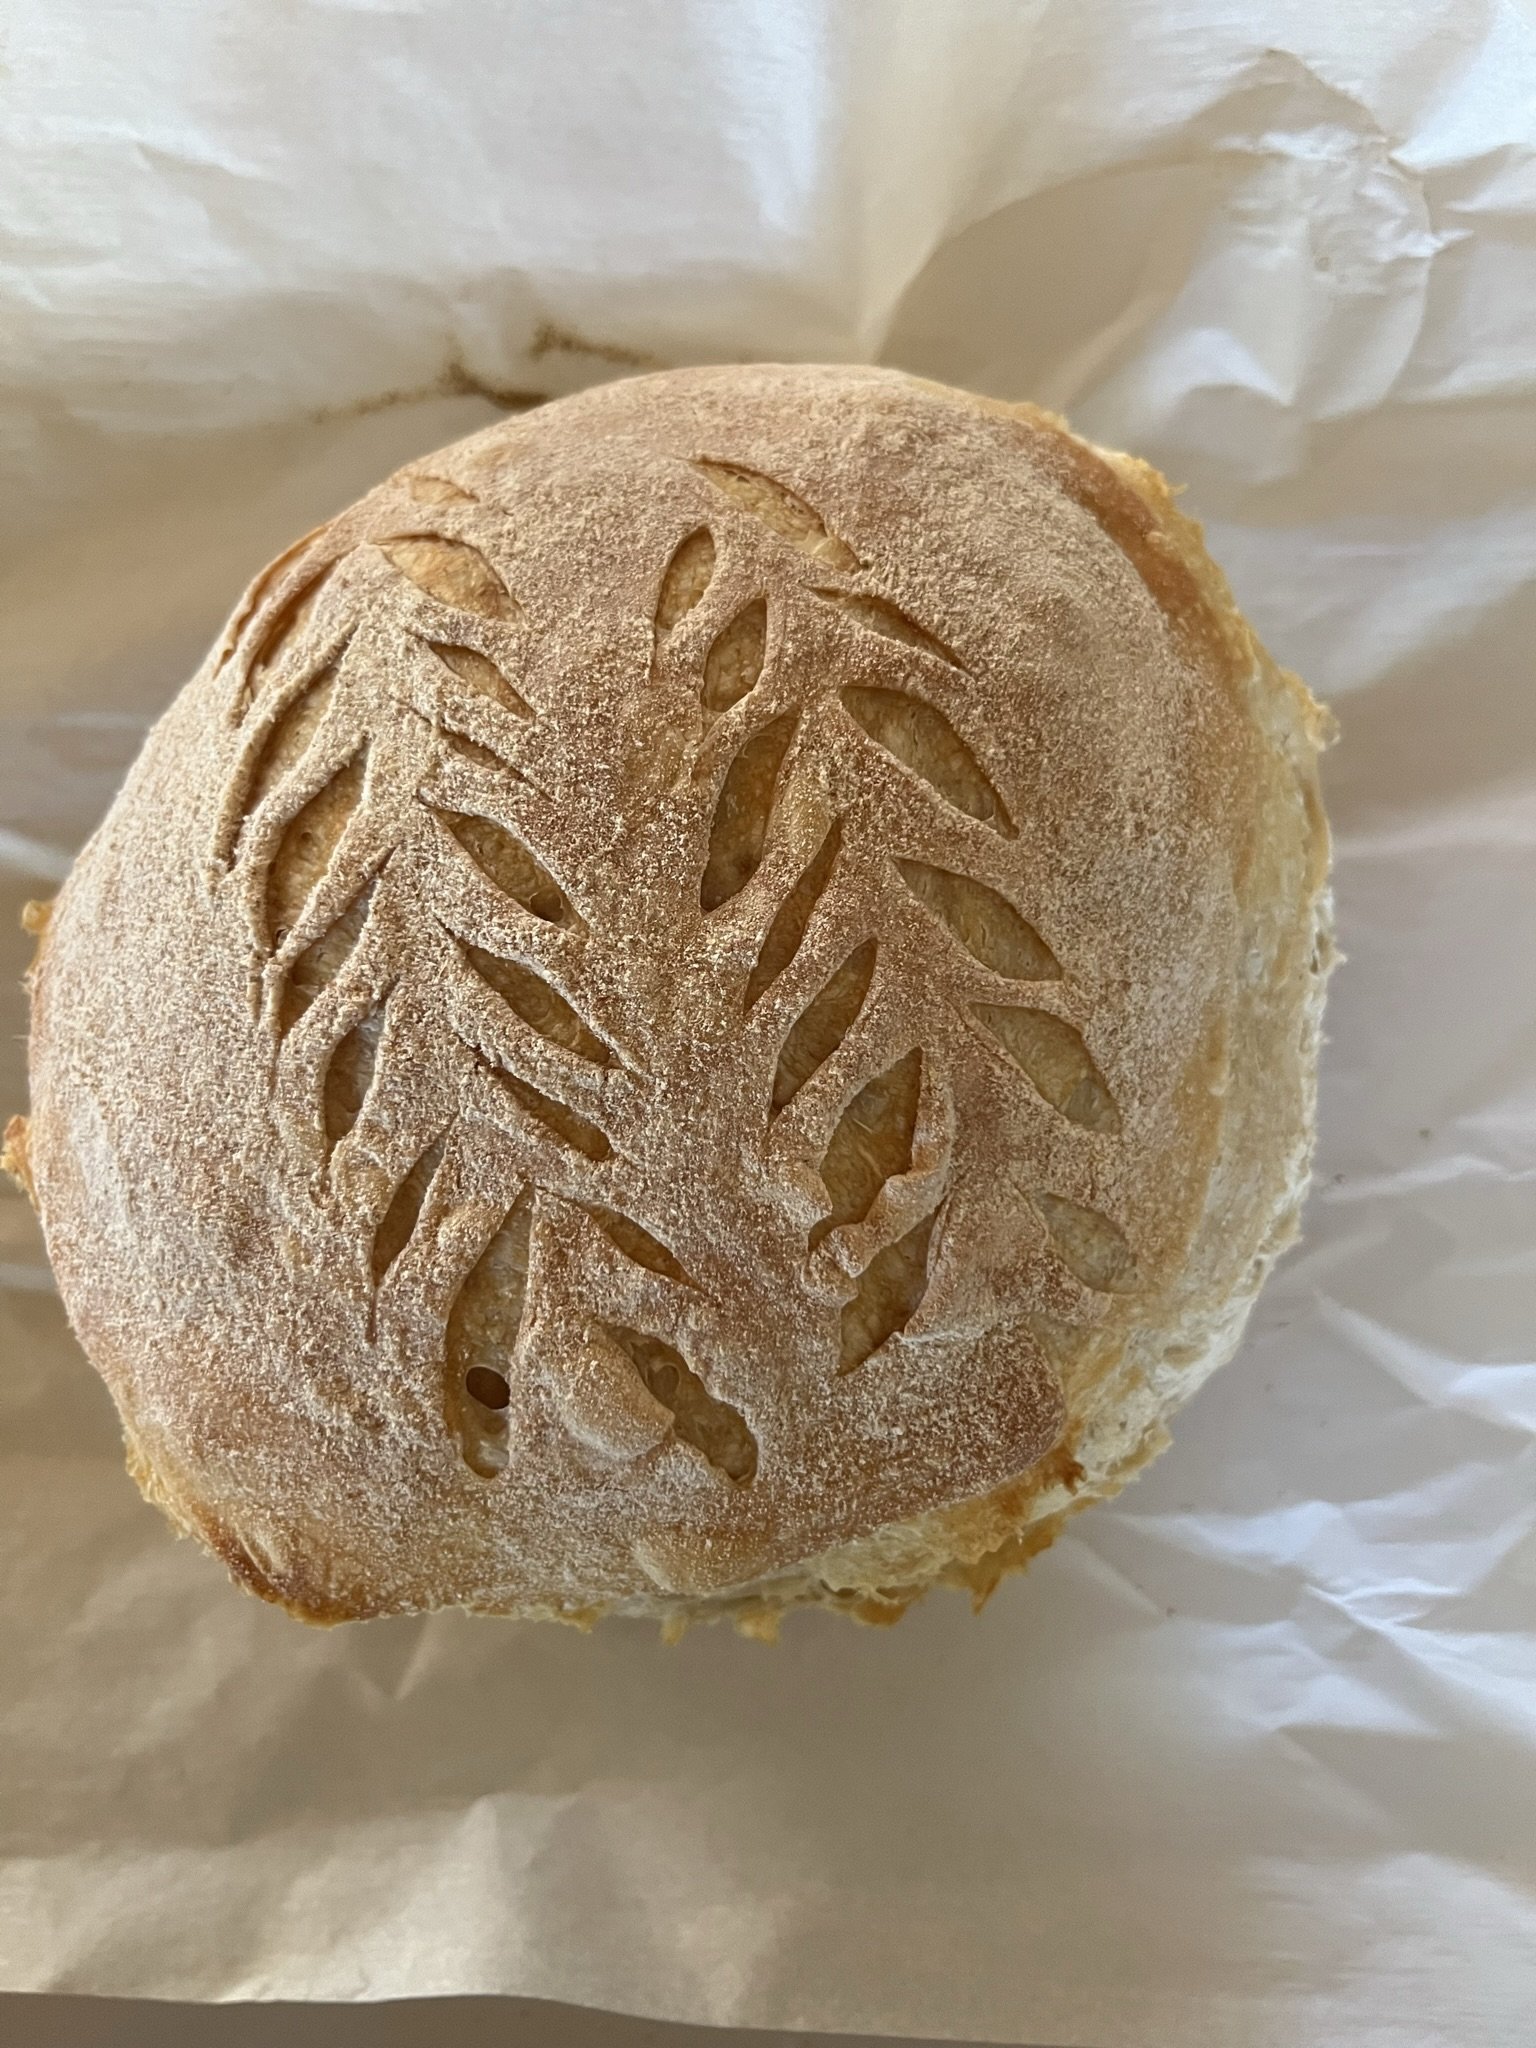
Grab your scoring tool and score your bread. I always make sure to do a large score along the bottom side of the loaf and then I make a design on the top as well. You can get fancy with this part but I don’t really care, i’m pretty basic lol
I do know that this part if very important to a successful loaf. You must score your bread to allow for it to breath/expand in the oven and allow for the gasses to be released.
Next, place the bread on the parchment paper into the dutch ovens with the tops on. Let cook for 30 minutes. Decrease the temp to 400 degrees.
Now take the top off and continue cooking for about 20 minutes.
Your bread should be nice and golden brown. Take it out and let cool on a cooling rack so the bottom of the bread doesn’t continue to cook.
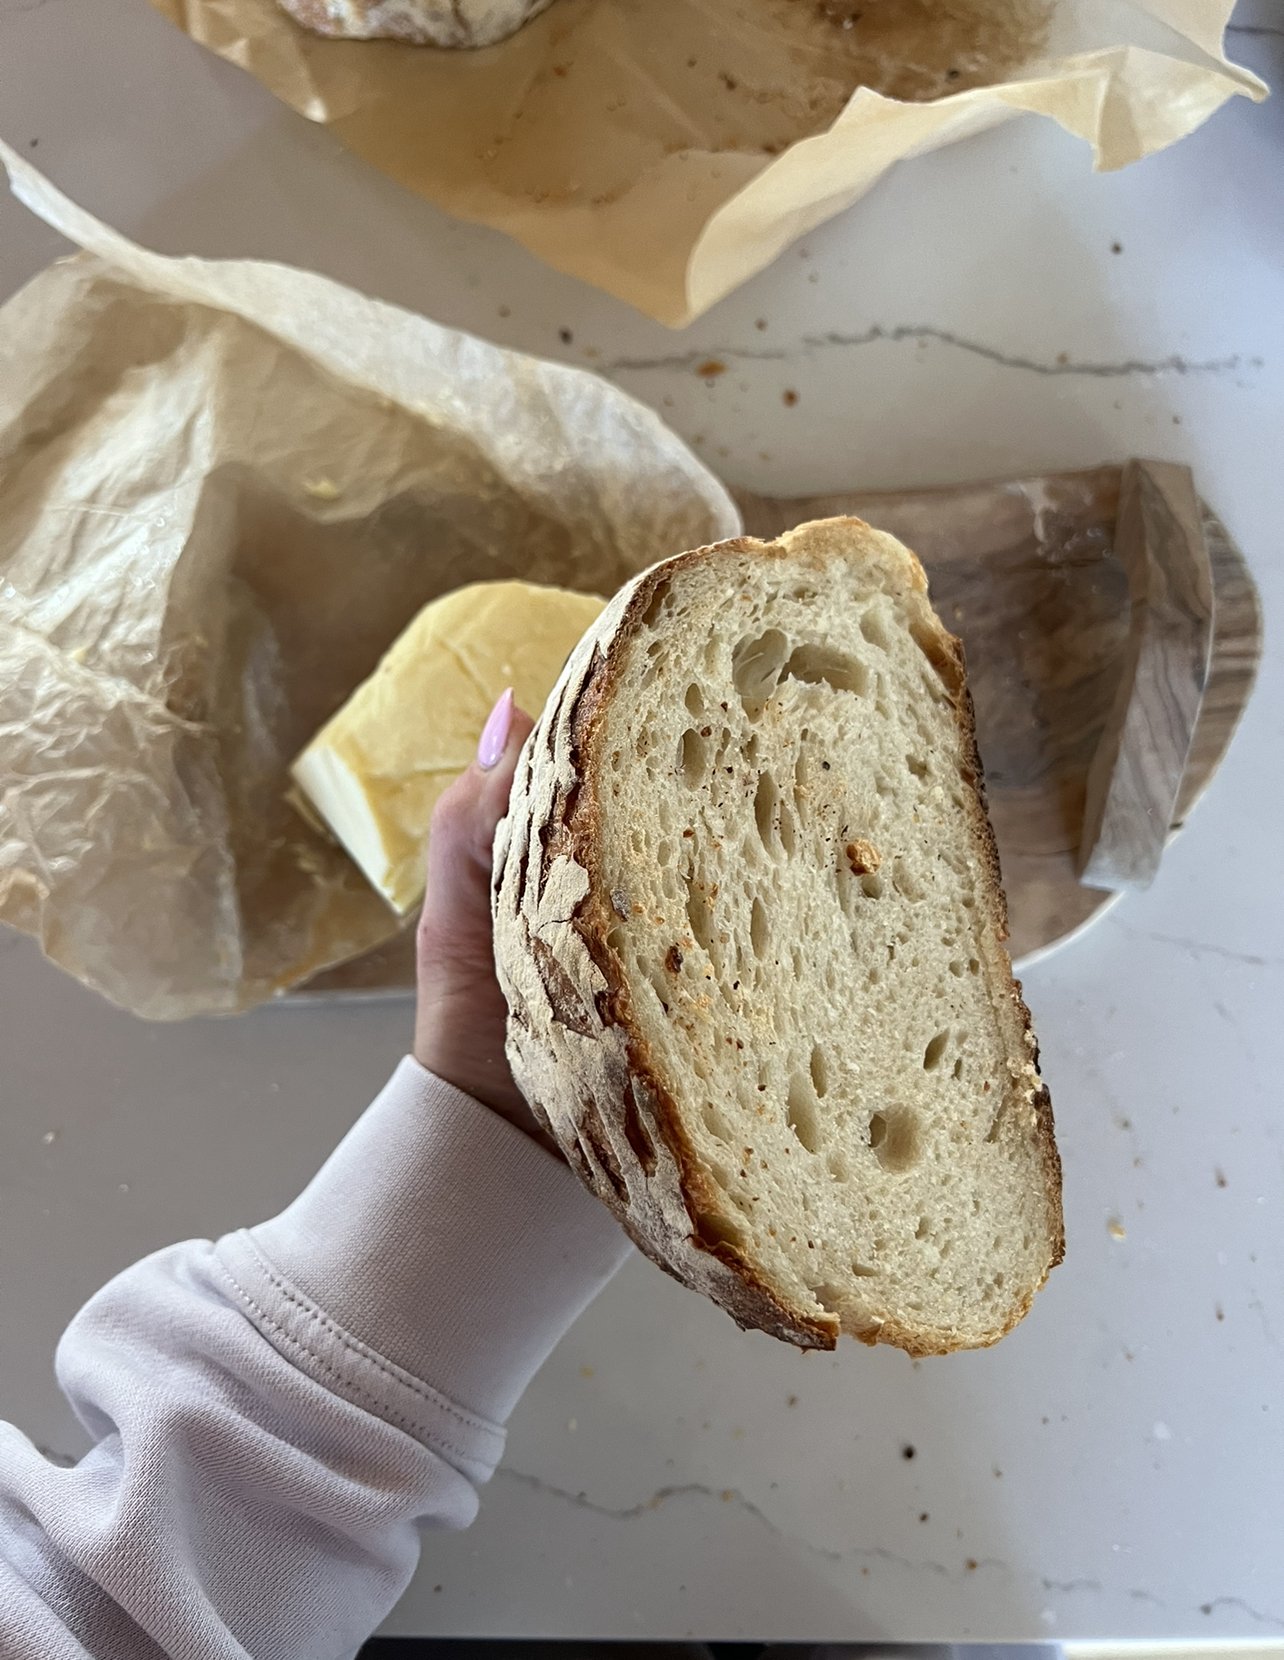
You can let it sit for about 30 minutes before digging in, but if you’ve never ate fresh out of the oven sourdough you’re missing out!
I love eating mine warm with butter and salt flakes, legit out of this world good! Enjoy!


I hope you found this step by step guide helpful! I’m no expert but after making it a year I thought I would create an easy guide for you to follow along with! If you make it and you enjoyed my guide, I’d love a tag on social media or for you to share with your friends!!
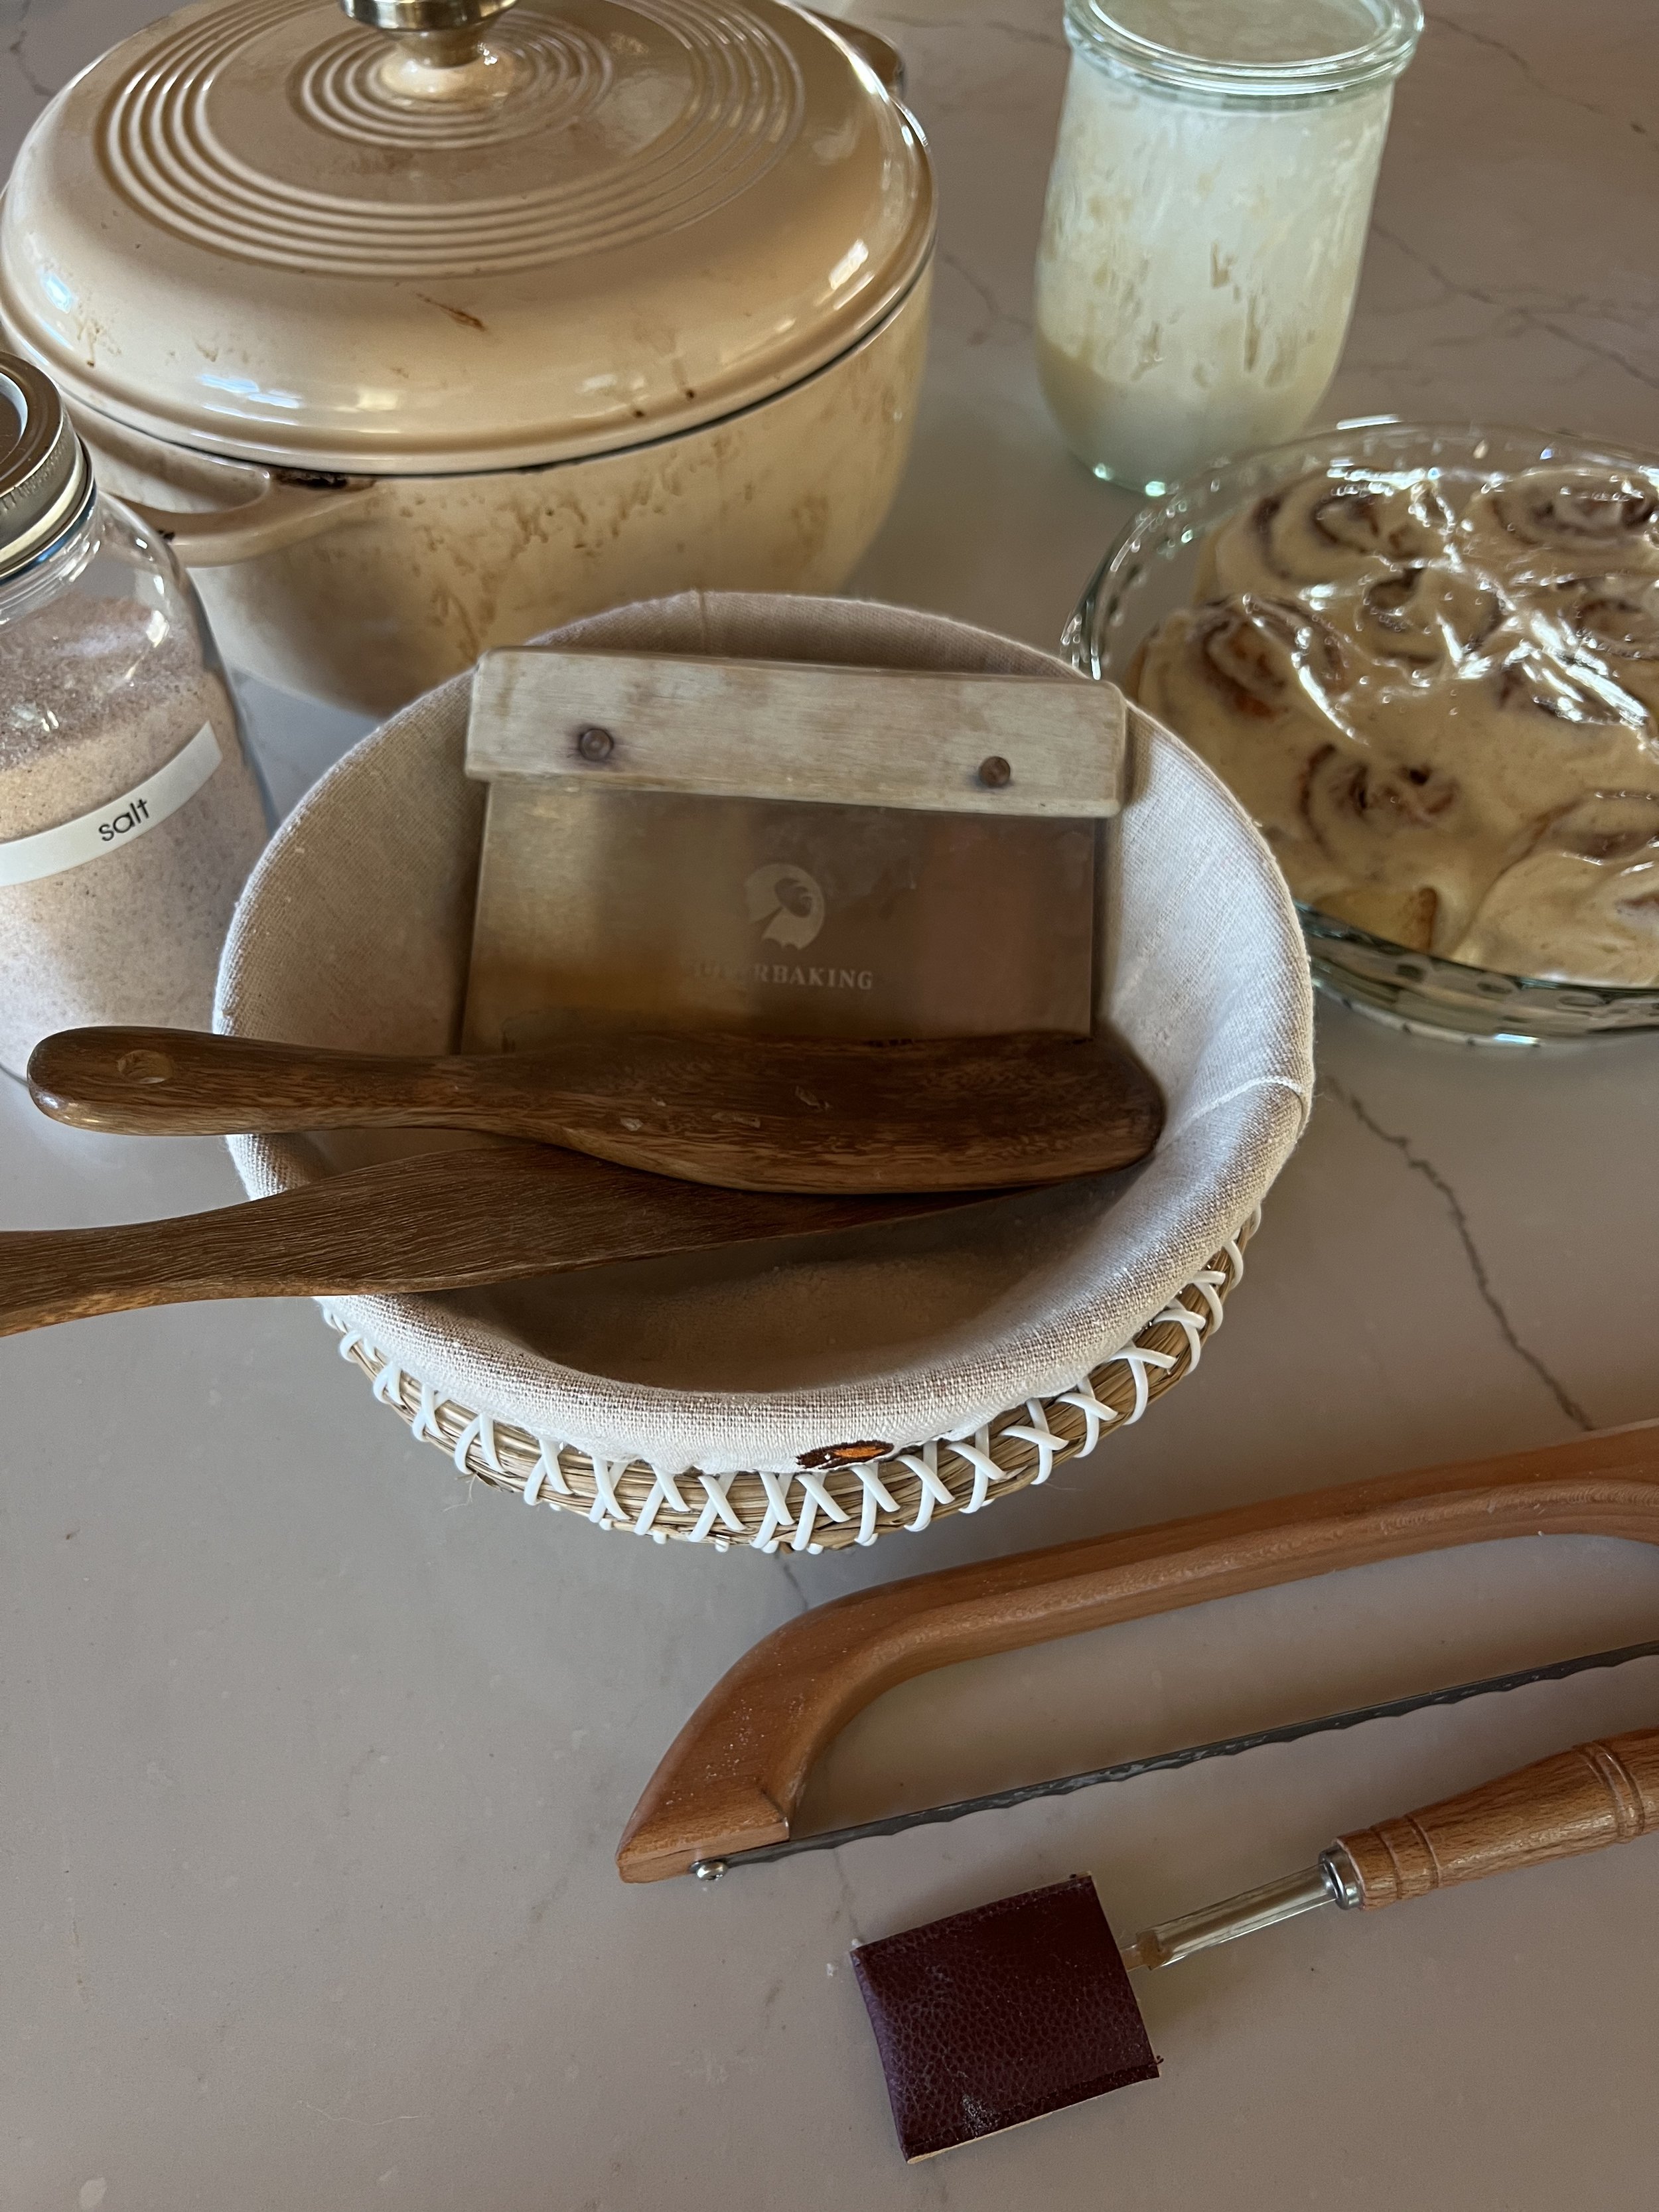
TAP on the image below and it will take you to my LTK app for all my essential bread making items! 🫶🏻
Xoxo Babes


